Kitchen island design ideas and considerations
Designing a kitchen remodel is a big undertaking with many difficult decisions to weigh. To help homeowners think through the process of renovating their kitchen, we’ve planned a series of blog posts that should be helpful during the planning stages.
Today we’ll be discussing kitchen island design–what you should think about and what to avoid.
Is my kitchen too small for an island?
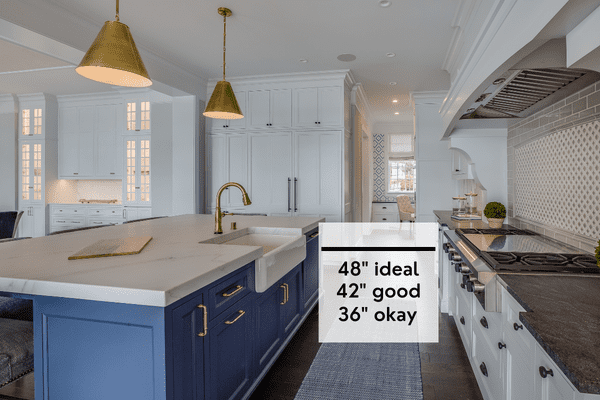
If you just google kitchen island clearance recommendations the most common answer you’ll get is you need about a 4 foot clearance around the island.
Here’s the thing–yes, four feet would be absolutely amazing, but some people don’t have a ton of space to work with and they can get away with an island that has less of a clearance around it.
Ideally, you’ll shoot for around 42 inches of clearance. If you can get more, awesome.
The absolute minimum that you need to have is three feet. Yes, this will be tighter than four feet, but if that’s all the space you have, it may be doable.
For three feet to work, you’ll need to go somewhere where you can map out the space and go through the motions of what life looks like in a kitchen.
Can you unload the dishwasher without losing your mind? Can you prep food while two people are in the kitchen? Can you unload things from the fridge without bumping into things? These are all things to think about.
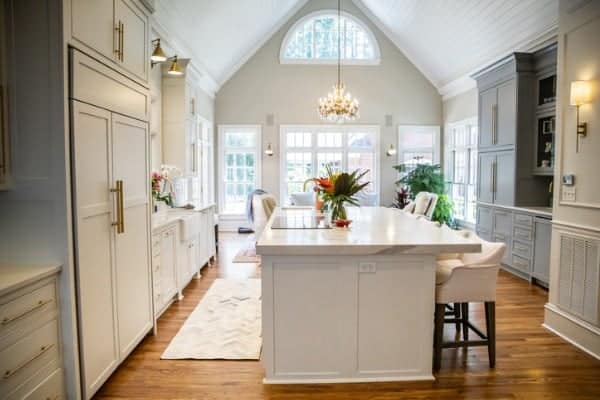
Don’t forget to think about barstools. It will be too tight to fit these in if your clearance is only 36 inches. You really need closer to four feet to make barstools work well.
Kitchen island dimensions and size: What’s the best size for a kitchen island?
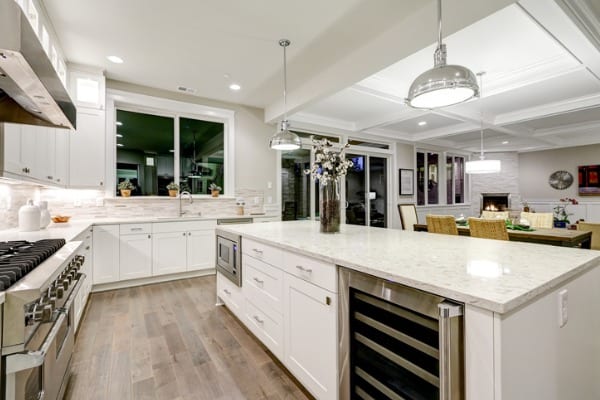
The best island size will be dependent on the overall dimensions of your kitchen and the clearance you’ll have around your island. At a minimum you’ll want at least 4 feet for length and 2 feet for width.
Seven or eight feet is a very popular length for a kitchen island. Six feet in length is common, as well, but not quite as popular as the larger sizes due to homeowners desiring the island to function as a gathering space.
You’ll also need to think about what you’ll be incorporating in your island. Many homeowners choose to include their dishwasher, microwave, sink or range in the island. We’ll go over the specific sizing requirements for those below.

Additionally, think through the clearance surrounding your kitchen island. Ideally you want a 48 inch clearance between your island and surrounding items. 42 inches is doable as well.
Many people try to squeeze in a kitchen island when they only have 36 inches and that’s very tight. If this is your only option, it may still be doable if you really think through your layout and are able to live with less space.
For someone that likes to entertain a lot, I would not recommend an island where you only have 36 inches of clearance.
Does your kitchen island have to match your other cabinets?
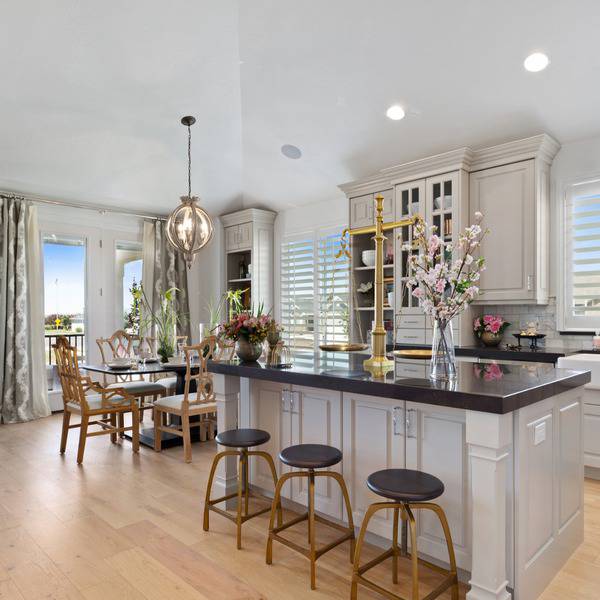
No, your island does not need to match your other cabinets; in fact, it’s a growing trend to finish your island with a different color.
Many people also choose to use a different countertop material on their island, as well. Here’s a post with my favorite cabinet paint colors if you need some inspiration.
How do you plan a kitchen island?
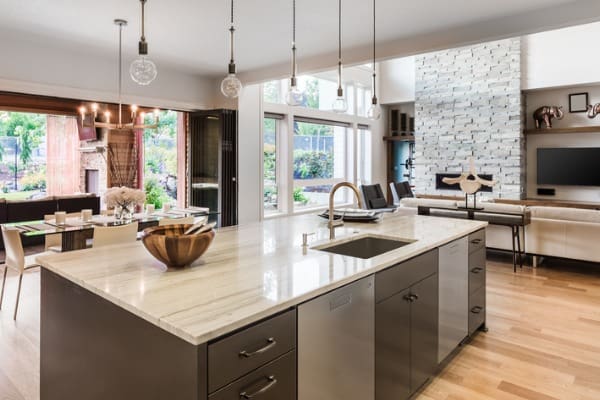
It’s best to really think through how you use your kitchen and how you entertain in your kitchen while planning your island.
Think through how you prep food–a pretty common layout is creating a triangle between the three crucial kitchen elements: the sink, the stove and the refrigerator. Many people achieve this look by placing either their stove or their sink in the island with the opposite across and the fridge on an adjacent wall.
You also need to consider walkway flow and whether or not you want seating at the island. We’ll go over each of these scenarios in detail below.
Mapping out a kitchen island with a sink
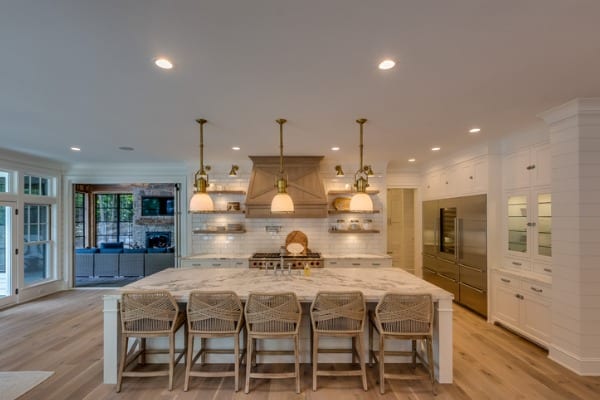
The island is a great location to place your primary kitchen sink, but there are a few things to consider if you choose to do this.
First, consider the width and length of your island if you want to put a sink in it. Most people use islands to prep food. If you have a 30 or 36 inch sink, you want a minimum of 36 inches on either side of the sink for prep space.
Additionally, you want the island to be wide enough to accommodate a place setting if you choose to put barstools in your island.
If you’re going to have a garbage disposal, it’s a good idea to also install your dishwasher in the island.
This allows the drain line hookup from the dishwasher to flow right into the disposal and out to the PVC drain from the sink. Keeping all of this together in the island will allow you to rinse dishes and set them immediately into the dishwasher since it’s right there next to the sink.
You’ll need some electrical power run to both your disposal and to your dishwasher, and this needs to be planned ahead so that the wires can come up through the flooring at just the right locations.
Additionally, dishwashers need to have a cutoff switch for technicians to use when servicing the appliance, so your electrician will need to keep that in mind when running the electrical lines. Most people hide this switch in the under sink cabinet somewhere.
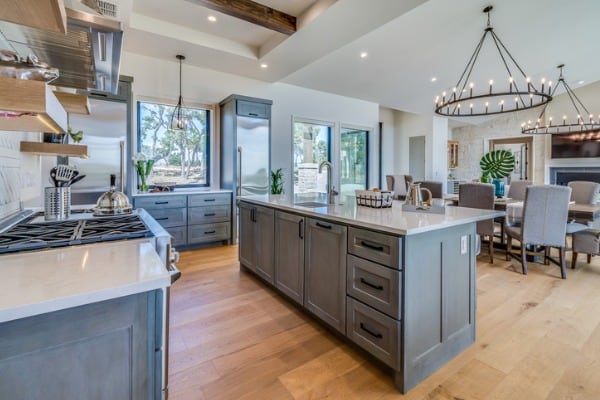
Operating your disposal will also require a switch, but you won’t be able to operate it from a wall anymore since you’ve installed it in an island.
If you have a disposal in your sink, you need to think about how to turn it on. Some people don’t mind opening the cabinet door below and flipping a switch down there to operate their island disposal, but other people find it obnoxious.
The best way to solve this is to install a button in the surface of the countertop. These buttons can be purchased in every finish imaginable to match your sink faucet. Search for “Sink Top Disposal Button” and you’ll find what you need.
This additional hole will need to be precisely drilled by the countertop installer, so make sure you have the button onsite and ready on countertop installation day.
Planning a kitchen island with range
If you have a large enough island, you can consider the option of a range in your island.
The range will definitely gobble up some usable counter space, so make sure that the area left over is sufficient to meet your other plans for the island–I’d am for at least 36 inches of prep space on at least one side.
Proper venting of the range exhaust will be your primary obstacle to locating the range in your island. Because local building codes vary from state to state, and even city to city, you’ll need to make sure that your ventilation method is safe and code compliant.
Vent hoods that hang from the ceiling can be impressive statement pieces, but they typically cost more than a wall mounted hood. Additionally, running ductwork into your ceiling and out of the house isn’t always easy when a range hood isn’t located on an exterior wall — in fact, it can get quite expensive rather quickly.
One way around this pesky ventilation problem is to install a downdraft vent. These vents pull air down into the cabinet and retract down into the island when not in use. The air is pulled down and into ductwork that exits the house through the floor and out the side of the house rather than through the ceiling. There are even some ranges where the downdraft function is built into the cooktop, so no pop up vent is needed.
Kitchen island dimensions for seating
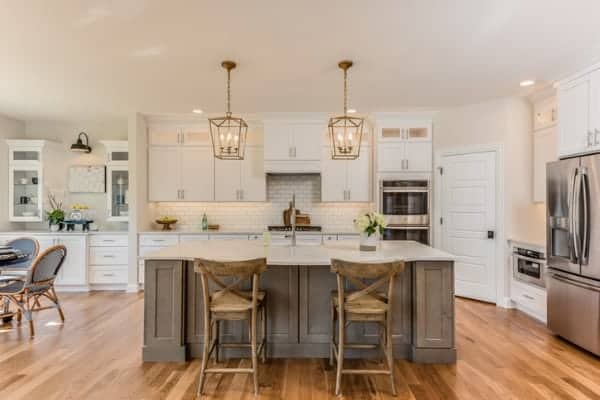
The kitchen island is a perfect place to add some much needed seating. It allows friends and family to be much closer to the action and promotes conversations that wouldn’t be possible if the nearest seat was the living room couch.
But if you’re going to design an island with seating, make sure you review a few essential considerations before signing the documents on that custom built island.
Because space can be limited in a kitchen, you want to maximize the seating capacity of your island.
Remember this: you’ll want 24 inches per person — minimum. So if you want to seat four at your island, make sure that your plan includes at least 96” of total space.
Keep in mind that while 24 inches per person is a fairly common standard, it doesn’t take every variable into account.
The 24 inch rule works great for those islands where the seating area is not bookended by countertop support legs or decorative extensions that don’t allow a countertop corner to float unsupported.
Not only will these legs eat into the usable leg space of those seated at the island, but they inhibit the movement of those seated on the ends from getting into or out of these edge seats. It’s not an issue if they’re the only ones seated at the island, but if someone is sitting right next to the person on the edge, their exit attempt starts to feel like a movie theater leg dance full of knee bumping and apologies.
We recommend that each seat be given an additional 3 inches if your edge seats are blocked in by support legs or other flow blocking woodwork.
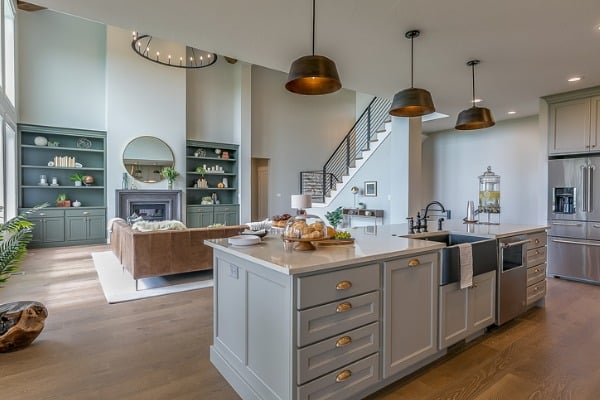
Other kitchen island design considerations
What purpose will the island serve?
Think about how you prepare and clean up. Make sure what you plan to put in the island makes sense work-wise for your kitchen.
Don’t forget about electrical requirements for the island
Code requires at least one electrical outlet. Check your local building code to find out if you need two outlets in the island. Most people hide those on the ends of the island. As I talked about earlier, you’ll also need electrical for the disposal and dishwasher.
Don’t forget about lighting over the island
Don’t forget to think through the pendant lights over your island. Depending on how wide your island is, you’ll want either two or three lights.
There should be about 30 inches from the base of your pendant light to the countertop, so that you’re not talking around a huge light! I have a full guide on kitchen island pendant lighting if you’d like to read through that.
Think through countertop edge for your island
Many homeowners are designing their kitchen island as a stand alone in terms of design–often outfitting it with a unique countertop, cabinet color and sometimes even countertop edges. Waterfall countertop and mitered edges are very popular with new construction and in kitchen remodels.
Don’t forget to check out my post on popular white quartz countertop options and if you’re having trouble narrowing down a countertop material, you may want to check out my post on quartz vs. marble . If you’d like to go dark, check out my post on black granite countertop options. I also have a review on some of my favorite quartzite countertops, too. And in case you want shelving in your kitchen, don’t forget to read my post on floating kitchen shelves.

