How to make a pipe curtain rod
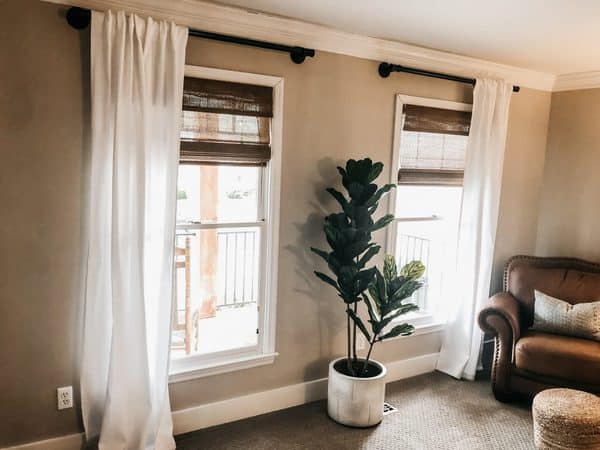
Everytime I look for curtain rods in the stores or online, I’m always amazed how much good quality curtain rods actually cost. And with a toddler moving around at the speed of sound, we needed something that was sturdy and aesthetically pleasing.
Enter, the pipe curtain rod, or as some refer to it, the galvanized pipe curtain rod.
Even though I’d classify this curtain rod as having more of an industrial or farmhouse vibe, we honestly think adding these DIY curtain rods to any space is a no brainer, as they easily bring texture and depth to any room.
So if you’re ready to take a break from traditional curtain rods and instead opt for different vibe, try these DIY pipe curtain rods.
Materials needed for a DIY pipe curtain rods
- Tape Measure
- Pencil
- Level
- Drywall Anchors
- Drill Bit Extension
- 2.5” Star Drive Screws or longer
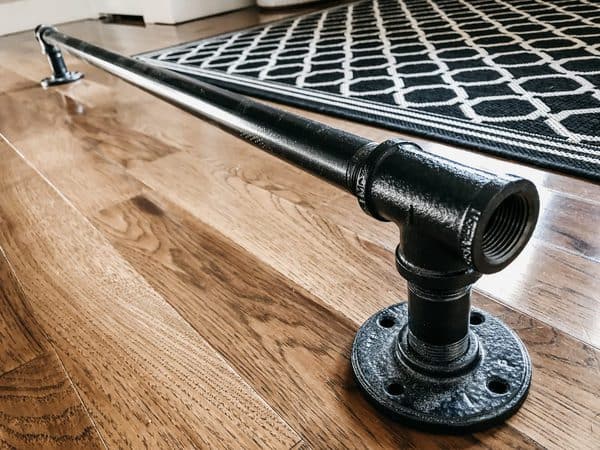
- Pipe parts
What to select when shopping for an industrial pipe curtain rod
Note: When shopping for industrial curtain rods you’ll need to get 1” pipe material – (1” is more substantial than ¾”).
Lowes and Home Depot have pre-cut lengths, but if you’re looking for something more custom, you’ll likely need to go to a local hardware or plumbing supply store to get custom lenghts.
Make sure to tell whoever cuts your industrial curtain rod that you need the ends threaded.
Pre-installation instructions to make a pipe curtain rod
- Clean the pipes – they’ll come with stickers and grease on them, which will stain curtain material and, if you’re painting the pipe, not allow paint to adhere properly
- Pipes should be cut to around 8 inches (4” per side) longer than the outer window trim measurement of your window casing. If your curtains are a very thick material, you may want to add an inch of pipe to each side so that the curtains don’t totally obfuscate the light from entering.
Industrial pipe curtain rods Installation instructions
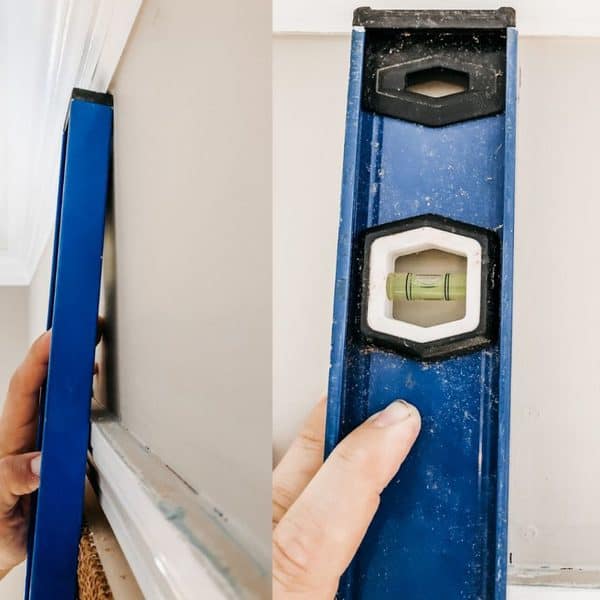
Step 1: Find the center of the window and place a mark on the wall with a pencil, just above the window trim.
Step 2: Use your level to carry this mark up to the height where you’ll be hanging the rods, and make a mark. The level won’t sit flat on the wall because of the trim, but that’s ok.
Step 3: Assemble the pipe pieces. The base and T pieces should be as tight as possible, but the rod should only be slightly tight, around 3.5 or 4 rotations. Don’t over-tighten this piece.
- Measure the assembled pipes, outermost point to outermost point of the bases.
- Divide this measurement by two.
- Take this measurement and mark to the left and right of your center mark.
- Hold up rod with one hand (this is way easier with two people) and set edges of rod bases in line with each mark. Make sure it’s level at this point.
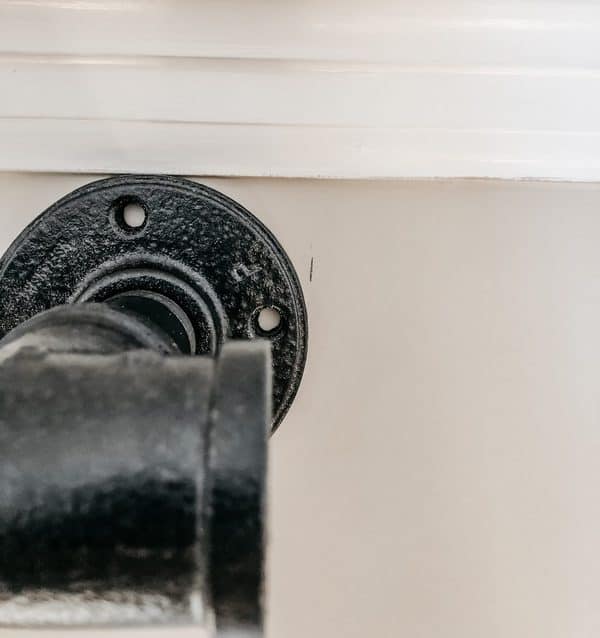
- Mark screw circles of both bases before taking it back down. Don’t mark one side and then take it down to reposition… ALL MARKS NEED TO BE MADE AT THE SAME TIME with rod in EXACT SAME POSITION.
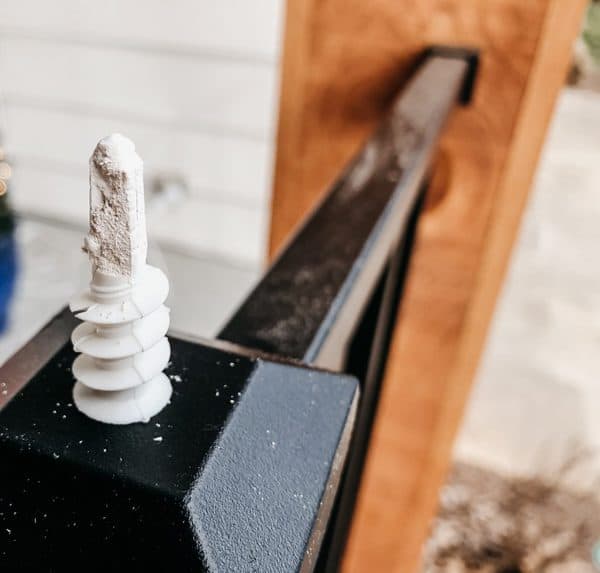
- Install drywall anchors. I always “pre-drill” the holes by using one of the screws that come with the anchors. Drive the screw in to about halfway, then back it out. The hole created by the screw is the perfect starter for the anchor to easily spin with the necessary speed.

- Many a plastic drywall anchor has snapped in half when pre-drilling is ignored. Backing out a broken anchor from the wall is remarkably enraging. (It’s fairly common that one or more of these hole positions will fall directly over a wall stud behind the drywall. If this happens, your drywall anchor will not go into the wall no matter how hard you push. For these holes, you’ll just need to use a screw with no drywall anchor.)
- Watch the video below, and then practice installing a couple of these anchors in some drywall somewhere that no one will see.
- Take the rod off of the bases, slip the curtain on, and reassemble.
- Hold the rod up and install using 2.5” Star Drive screws (with drill bit extension). DO NOT USE the screws that came with the anchors. The anchor screws are not long enough and the screw heads are not large enough — they will slip right through most pipe base holes. (star drive screws typically come in green or tan. I paint the screw heads black or gray after I’ve installed them so that they match my pipe material.)
- Yay. You’re all done! Celebrate your hard work!
Final thoughts on industrial curtain rods
These DIY curtain rods are sure to stand out and make a real statement piece in your space. Remember, once you go DIY you won’t want to spend money on flimsy curtain rods again! Have any questions about the process? Comment below and we’ll help you finish your project.
Other DIY projects
Wall decor ideas you’ll love