Inexpensive dresser makeover: ORC week 4
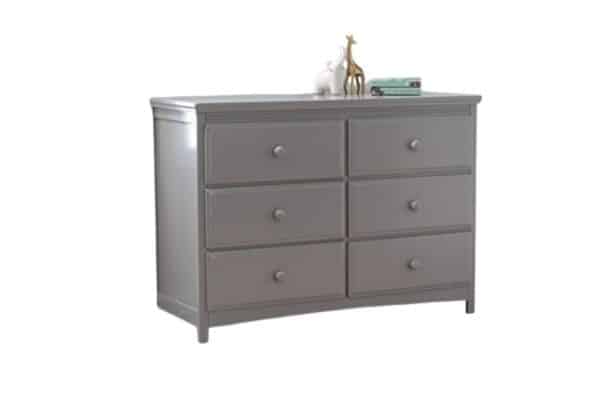
In week four of the One Room Challenge I focused on redoing the gray dresser I had in my older daughter’s room. It didn’t go well with the color I chose for the nursery and I also really wanted something a bit more dramatic for the space.

This post contains affiliate links. Read my policy here.
Dresser makeover for $50
Initially I planned to refinish an old dresser my husband had in his room growing up, but after further examining it, the drawers were in rough shape and we weren’t able to add drawer slides to the drawers without completely rebuilding them.
Instead we opted to redo a dresser we already had. Here’s what we were working with:

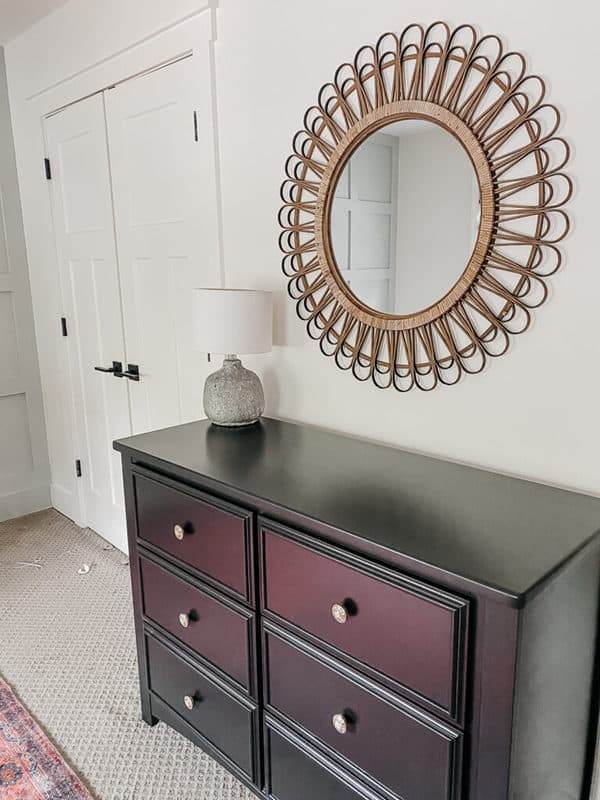
And here’s what we ended up with:

Here’s how we achieved a dresser makeover for $50!
Step 1: Remove drawer fronts (this may not be possible on all dressers, so if you can’t remove your drawer fronts just tape it off)
Step 2: Lightly sand dresser with 180 grit or higher (use sand paper like this for a piece of furniture that has already been pre-finished).
Step 3: Spray first coat of paint. For this project, we used aerosol paint. We like using aerosol for projects for many reasons, one: you get a more even and consistent finish, two: there are no brushstrokes and three: you can apply many thin coats, which is best for the longevity of your paint.
We used a local paint store that has the ability to turn paint into aerosol. The paint color we chose is called Black Magic by Sherwin Williams.
Step 4: After it’s dry, very lightly sand again.
Step 5: Repeat the process until you’ve achieved the look you want. For this dresser we did three coats of paint.
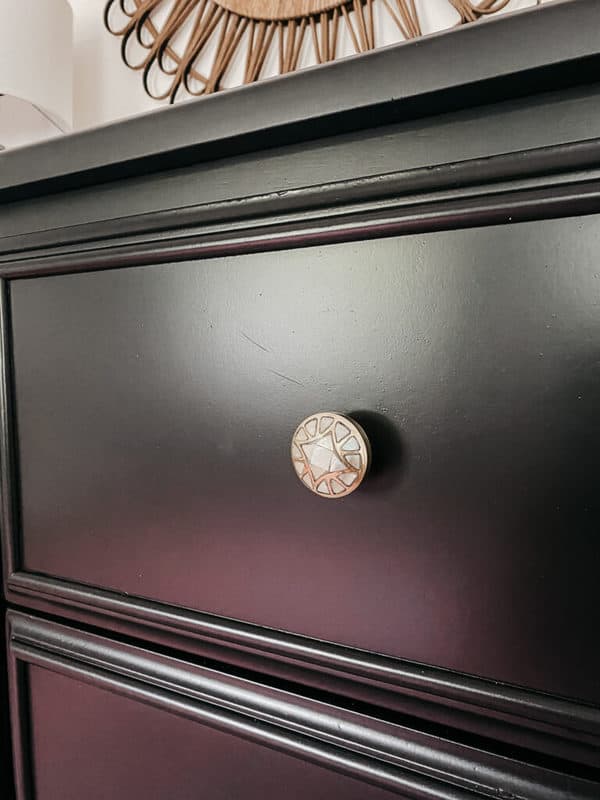
I wanted a more custom look so I added these beautiful mother of pearl knobs and I’m thrilled with how they turned out.

That’s all the progress we made for this week! We still have to replace the windows, hang curtains, hang artwork and style the room. Make sure to keep up with all of the other projects happening in the One Room Challenge, too!
Shop the look


